
Are you bored with Windows and want to try something new? If that’s the case, you might like Linux Mint. It’s a free, open-source operating system that’s stylish and works really well.
In this article, we’ll show you how to install Linux Mint 21 on your computer using a particular USB drive. Let’s begin!
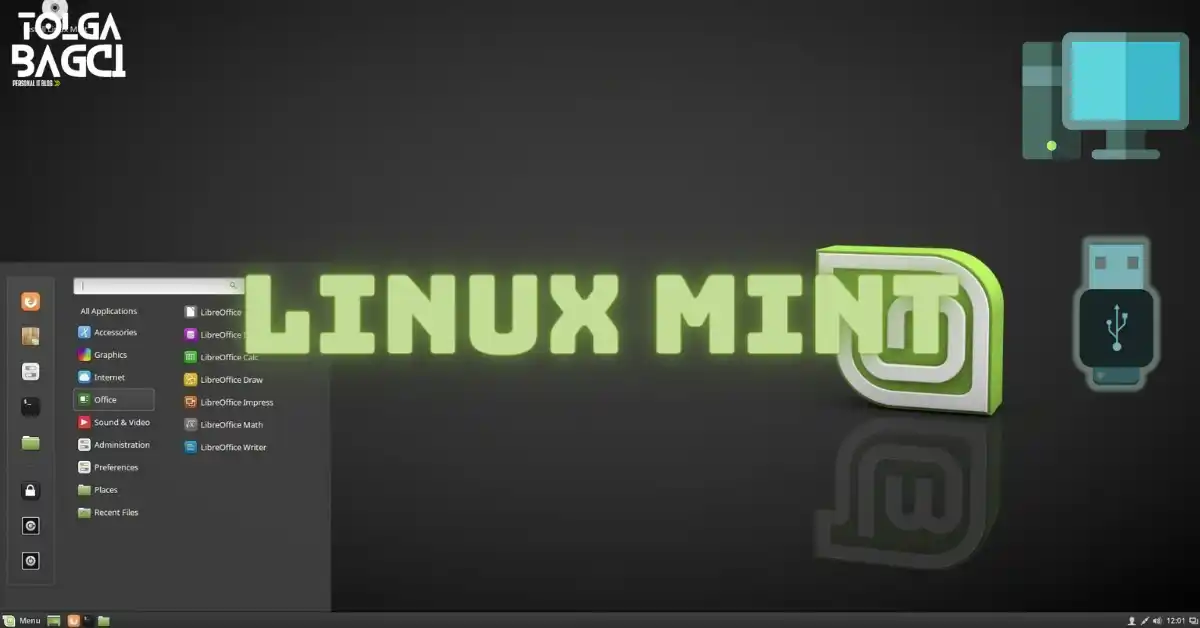
Credit: Linux Mint
Why Linux Mint?
Linux Mint is a prevalent operating system that’s free and open-source. It’s based on Ubuntu and is known for looking nice, working well, and being easy to use. You can change how it seems to fit what you like.
Compared to other versions of Linux, it is really stable and straightforward. It comes with lots of helpful software already installed, like web browsers and media players. Plus, there are lots of people who use it and keep making it better, so it’s always up-to-date and secure.
If you want a good, cheap option instead of Windows, it is a great pick. It works with most computers, and you can get it for free without having to pay for licenses. And it’s super safe, with solid security features that keep your PC safe from viruses and other nasty stuff.
In short, it is a powerful and flexible operating system that’s a great choice if you want to use something other than the software you have to pay for. Whether you’re a student, a professional, or just using your computer for fun, it has everything you need to get stuff done.
What are the System Requirements to Run the Mint OS?
To use Linux Mint, your PC needs to meet specific system requirements. These requirements are reasonable, but it’s good to know them to make sure your computer can handle the operating system.
The official system requirements for Linux Mint 21 are:
- A 64-bit processor is a computer processor that can control 64 bits of data at once. It’s usually faster and more efficient than a 32-bit processor because it can handle bigger chunks of data in one go. Modern computers and mobile devices often use this type of processor because it leads to quicker speeds and better performance.
- For a system to work well, it needs at least 2GB of RAM. But for the best performance, it’s better to have at least 4GB of RAM.
- The software or application you wish to install requires a minimum of 20GB of hard drive space. But for the best performance, it’s better to have 30GB or more.
- The screen’s resolution is 1024 pixels wide and 768 pixels tall.
It’s worth noting that these requirements are for the Cinnamon edition of Linux Mint, which is the most popular version. If you’re planning to use a different desktop environment, you may have slightly different requirements.
Also, think about what you want to do with this OS. If you’re going to browse the web and edit documents, the minimum requirements should be okay. But if you’re going to do things like edit videos or play games, you might need a more robust PC.
Usually, this OS only needs a few resources and works fine even on older or less powerful PCs. But like any system, it works better on more robust computers. If your computer meets the requirements we discussed, it should run smoothly for you.
Installing Linux Mint to a Computer using a USB Stick
To start using Linux Mint on your computer, you can either watch our video that shows you what to do or follow some steps to download the operating system and install it using the ISO file. This way, you can enjoy all the cool things it has to offer on your device.
- To get the newest version of Linux Mint, go to its official website by clicking this link. When you’re there, find the part that talks about the latest version of the system. You’ll see a ‘Download’ button there. Click it to start downloading.
- After you click the Download button, you’ll go to a page showing the Cinnamon, Mate, and Xfce desktop options. Here, you can pick which one you want. Just find the Download button under the desktop you like and click it to start downloading.
- To install Linux Mint on your device, get the file called 21 ISO. For quicker downloads, pick a server near you. Just go to its website, choose a nearby server, and download the file. Then, you can start setting it up on your device.
- After you’ve downloaded the ISO file, the next step is to put it on your USB flash drive. You’ll need a program called Rufus for this. It’s a good tool for making bootable USB drives from ISO files.
- To put an ISO file onto a USB stick using Rufus, start by plugging the USB stick into your computer. Then, open Rufus and pick the USB stick as your device. Next, click the SELECT button in Rufus to find and add the ISO file. This will start making a bootable USB stick that you can use to install the operating system or other software.
- Once you have added the image file, you will need to choose between the UEFI or MBR partition scheme. Once you have made your selection, you can proceed by clicking the START button.
- Please make sure that the ISO Image Mode option is chosen in the open info window.
- When a window pops up on your screen, click the ‘OK’ button. The window will tell you that all the data on your USB stick will be erased for good. Remember, clicking ‘OK’ starts the deletion process.
- To install an operating system from a USB drive, you need to make a unique USB called a bootable USB using a tool like Rufus or UNetbootin. After making the bootable USB, put it into your computer’s USB port and restart your system. While it’s restarting, press the right key (usually F12 or Escape) to enter the boot menu, then pick the USB as the boot device. This makes your computer start from the USB and start installing the operating system.
- While installing Linux Mint, you’ll see the GNU GRUB menu. Just choose the first option from the menu to begin your system. This starts the installation process and lets you continue setting up Linux Mint on your computer.
Configuring Linux Mint OS for First Setup
- After your system starts, you’ll see an icon named “Install Linux Mint” on your desktop. To begin installing, double-click on this icon and follow the instructions on the screen.
- When you open the installation wizard, it will ask you to select the language for your Linux system. After picking your language, you’ll be prompted to choose the correct keyboard layout for your system. This ensures that the installation goes well and that you can use the system quickly.
- To make sure you can watch all kinds of videos on your device, go to the Multimedia Codecs section. Then, choose to install the codecs needed for the formats you want. This helps you watch your videos without any problems.
- If you’re going to install Linux Mint utterly new on your system, choose the “Erase disk” option. Then, click “Install Linux Mint,” and after that, click “Install Now” to begin installing. This erases all the data on your system, so be sure to back up any important files before you start.
- To start making changes to the disk, please press the “Continue” button.
- To get your PC ready, pick your location, then type in a name for your computer. After that, make a strong password to keep your data safe.
- After you’ve installed Linux Mint on your PC using PC, it’s crucial to restart your host. While restarting, be sure to take out the media by pressing the Enter key. This lets your system start from the newly installed OS and finish the installation.
- Once your computer restarts, you can start using and checking out the features of your Linux Mint OS.
Conclusion
Putting Linux Mint 21 from scratch is pretty straightforward. You need a USB drive that can start up your computer. So, this distribution is a great operating system. It looks nice and works well, and you can change it however you want.
If you follow the steps we talked about, you’ll get Linux Mint up and running smoothly. It’s a good option if you want to try something different from Windows and like the idea of using open-source software.
If you like Linux Mint, you might also want to try Ubuntu, which is another well-known operating system based on Linux. We have a simple guide that shows you how to install Ubuntu on your computer. It’s easy, similar to this guide, with clear steps to follow. By using our guide, you can try out Ubuntu and see if you like it better.